One Room Challenge Week 4 - "New" Black Windows going in!


Week 4 is upon is upon us and we are at the halfway line. The main event this week is the window makeover. The existing windows are original to the house, meaning they are old and inefficient. We are planning to eventually demo this side of the house, but until then we must beautify with these rickity metal sculptures. The plan of attack is to paint the moldings black and spray paint the metal window frames. And that we did! We were able to complete this task in 3 days. This also meant we couldn’t sleep in our room for three days, so we opted for camp nights in the family room.
The process:
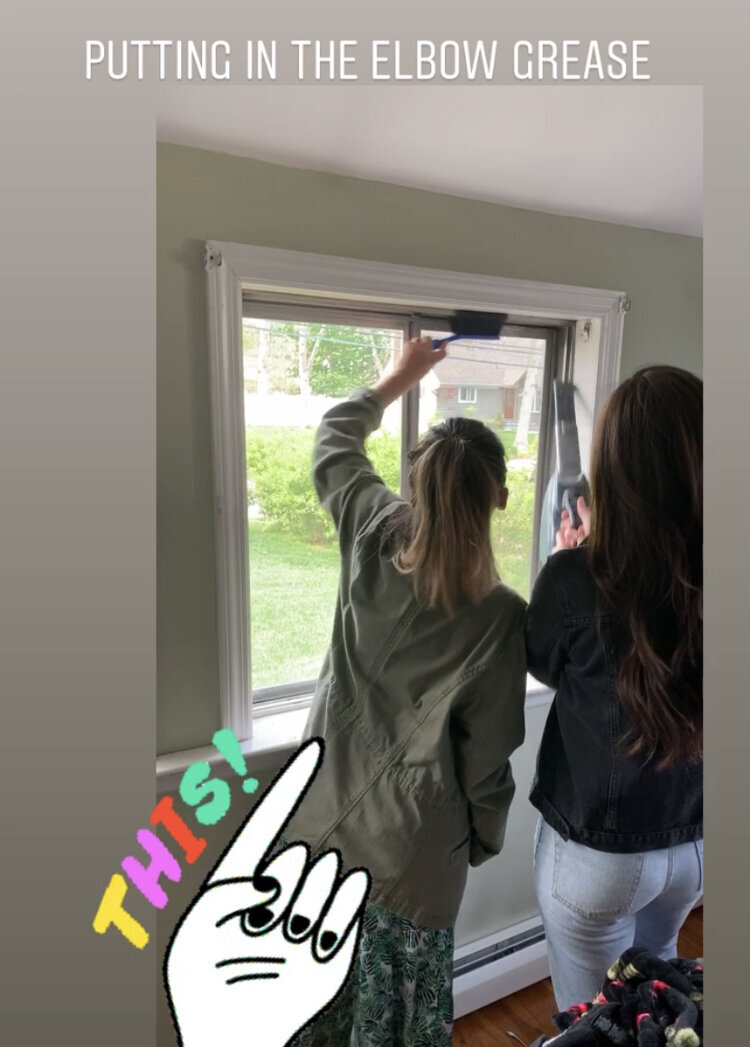
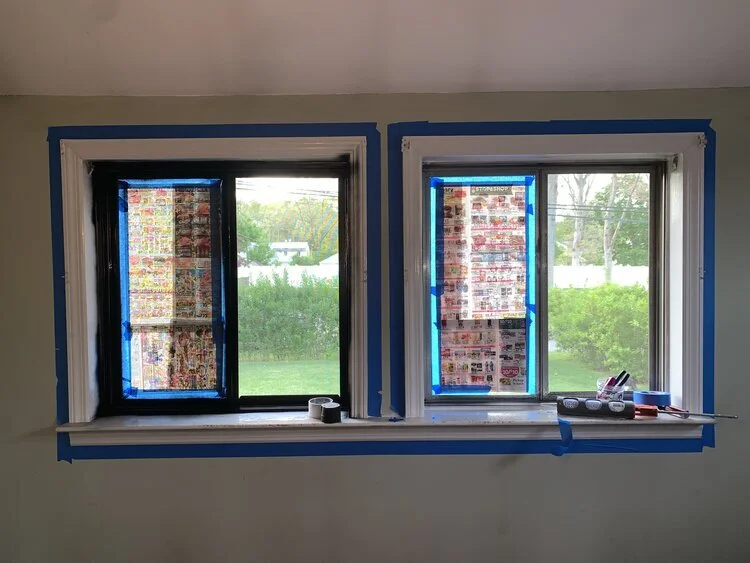
First, we removed a total of 9 windowpanes and cleaned them very well. Once dry, we taped them off and covered with newspaper. We also taped the moldings, and then we were ready to start the fun stuff. Starting with a thin coat of spray paint we covered the metal frames, and it was already looking fresh. Then we went to the moldings and did a thick first coat.
We let everything dry overnight and repeated with another coat of paint. The third day the windows were placed back into the frames and guess what. It looks like magic! “New” black windows to match the renovated side of the home. It is thrilling to know that with a bit of paint and some elbow grease you can achieve such splendor and keep your pocket full for the rest of the room. Now that the windows are painted, I can paint the mural around the room and start working on the window treatments.
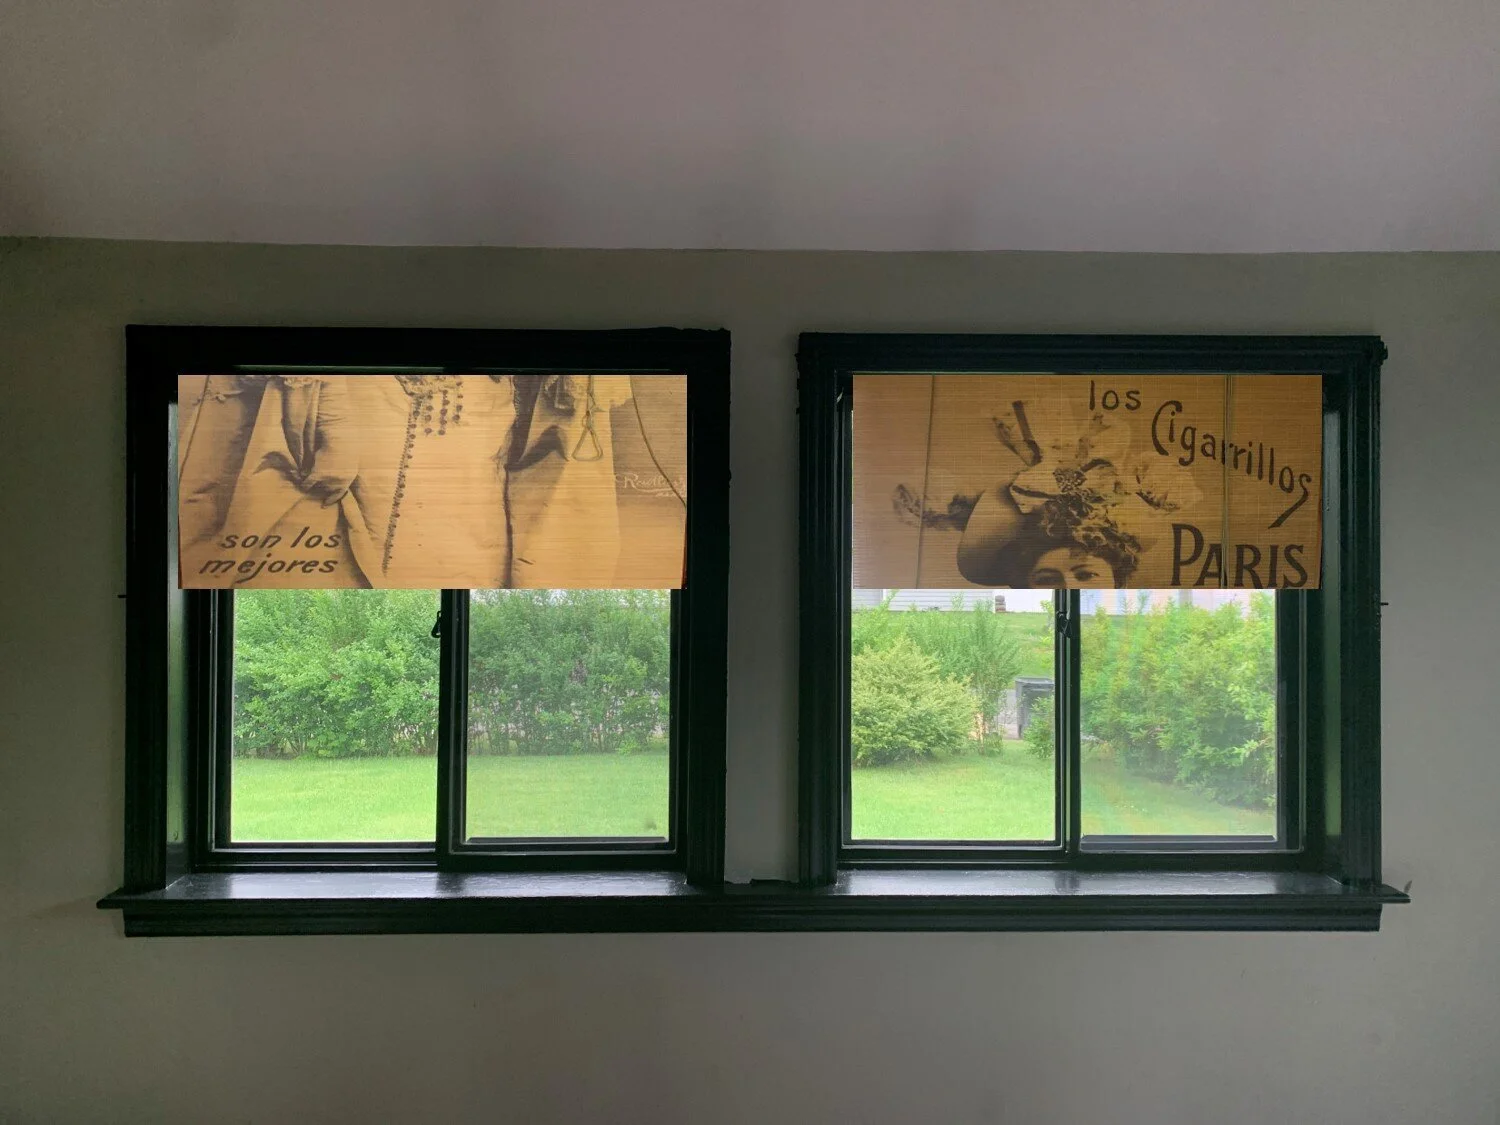
I am incredibly excited to show you my attic find! My original plan was to DIY woven wood faux roman shades. However, I wasn’t sure of which material to go with. I had seen a few tutorials using anything from placemats to reed fencing from home depot. But take a look at this beauty! This is an old roller screen with a print of a French girl, that I have had for approximately 10 years. Its original use was to cover an open closet in my apartment. I always loved it and didn’t want to throw it away. I’m so happy for this hoarding moment because it is perfect for my DIY shades.

The width is perfect for these windows, and it is extra long. It can be cut into multiple pieces. The only issue is the window above the bed, which is much wider than this screen. I have not decided how to deal with this window yet, but will circle back with all the details. Next blog I will show step by step on this fun DIY project. Stay tuned and thank you for keeping up with my ORC!
Make sure to check out the incredible transformations the other designers are working on. Link back to the ORC BLOG here
Till next time….
***due to external circumstances, I skipped week 3 blog.